RSS

Category Archives: OpenNTF

Maven and XPages Plugin – From Scratch / Part IV The feature

While Switzerland was covered with snow, the OpenNTF Base project has made some progress. There are two new plugins, one is org.openntf.base and the other is org.openntf.base.lib.internal.

org.openntf.base contains all the stuff to register the plugin collection as an extension library and also all “Top Level” classes. org.openntf.base is designed to have all the dependencies to the XPages engine. I try to make org.openntf.base.jaxb.dxl with less dependencies to other plugins, as possible. specially not any dependency to the XPages Engine (as I sad, I TRY). My intention is to reuse the org.openntf.base.jaxb.dxl part also for Notes Client plugins.

org.openntf.base.lib.internal contains all the JAR files which will be used in the org.openntf.base package, but not exposed to the Desinger Client. Maybe there will be a org.openntf.base.lib.external plugin, which contains jars of useful java libraries, that could also be used at the Designer Client level. GSON and GUAVA are candidates for this.

Btw. the org.openntf.base.jaxb.dxl.testsuite is also moved to org.openntf.base.testsuite and is now a fragment of org.openntf.base

Ready for the next move? ….. we need a feature to bring all the plugins under one umbrella. (Btw. the testsuite Fragment will not be part of this feature!)

It all begins with a new ………. module!

220

And the packaging type of this plugin is “eclipse-feature”221

Once we have the new project, we need to files:

  • feature.xml
  • build.properties222 223

Lets open feature.xml and fill the following stuff into the editor:224

On the plugins tab, please add all the plugins you need225

And on the information tab, please fill at least the Copyright Notice. Without it, you wouldn’t belive, but the feature is not loaded in the Designer Client.226

And on the build tab, please select feature.xml227

Check if everything is fine with your run configuration “clean install”

 
Leave a comment

Posted by on December 31, 2014 in Java, Maven, OpenNTF, XPages


Tags:

Maven and the magic of profiles

Maven and the magic of profiles

POI4XPages has a module called poi.assembly. This module builds the final ZIP file which can be uploaded to the OpenNTF website. One step in the assembly is that the module downloads the source code direct from github. This step takes a lot of time, so each mvn clean build takes a lot of time, because the assembly line is also executed. Fortunately Maven has a concept called profiles. Maven let you define different profiles. In the POI4XPages case, I’ve built two different profiles, which contains different set of modules:

200Each profile has its own id tag. The default_no_assembly profile is activated by default. The <activation> markup let you activate also profile by defining environment variables.

I’ve now to different run configuration in my eclipse client. To run the default profile, I use the following:

201

But if I need the assembly profile, I use the following configuration:

202

Merry christmas!

 
Leave a comment

Posted by on December 24, 2014 in Architektur, Java, Maven, OpenNTF, POI4XPages, XPages


Tags:

Maven and XPages Plugin – From Scratch / Part II – The Plugin

The core purpose of org.openntf.base.* is to bring some core plugins to the community. This plugin could be used in conjunction with other plugins, like org.eclipse.core.runtime. The first plugin that I want to build is a JAXB representation of the domino9 dxl. This plugin should offer some basic method to convert any domino object to a java object tree based on the domino dxl definition. This could be used to explore the design of a domino database, but also to represent the content of a single rich text item.

We will focus in this part on how to build the plugin based on the parent, that we have already build in Part 1

As in Part 1, we will do the stuff again with our Eclipse Kepler IDE.

1. Build a Maven module

100

Go to your parent project and use “right-click” for the context menu. Browse to Maven / New Maven Module Project.

101

The module name should be the same as your plugin id (later).

102

While you fill out the dialog, it seems that the group id is necessary, but you can delete this later. Be sure that you specify as packaging type: eclipse-plugin. This has a huge impact on the build process and your new maven module will now be handled as eclipse-plugin.

Nice we have now created some folders and files, but unfortunately not the necessary files to handle this project as a plugin project.

Create some files….

That a plugin project is a plugin project, it needs to files.

  1. META-INF/MANIFEST.FM
  2. build.properties

With the right content -> so let’s build this files.

Create the META-INF Folder:

103Create the MANIFEST.MF File:

104

Let’s open the MANIFEST.MF File with the Manifest Editor

And we do this with a right-click on the project and browse to “Plugin Tools / Open manifest”

105

Lets fill out some base information for the plugin.

Btw. the Version should correspond to the version in the parent’s pom file, instead of SNAPSHOT use qualifier (as the plugin would expect)

106

Now its a good moment to update the classpath of the plugin project (do it again with a right click on the project) and the go to Plugin Tools / Update classpath

107

To complete the plugin configuration, we add the dependency to org.eclipse.core.runtime108

And we create the file build.properties109

We open again our MANIFEST.MF and go to the last tab called build.properties.

There we complete the build.properties with the yellow marked text. (bin.includes and sources.. are needed for the whole plugin build process)
110

Give the Plugin an Activator

We build now the Activator class for the plugin, by building first the package and then the class.

111

Creating the class file112

Let’s open the MANIFEST.MF again and assign the activator class113

Build a run configuration to build the project with Maven

Now its time for the fun part. We build a run configuration, to execute the goal clean and install in the maven build cycle

  • clean will delete all genearted code
  • install will compile, test and package all code

114

Select “Maven Build” as category and click on the blank sheet to build a new run configuration115

Please fill out all yellow highlighted fields. Be aware of the goals field. We define with -Dnotes-platform=file:/// the external variable ${notes-platform} for our parent pom file.

Click “Run” to check if all is builded correct the output should look like this:

116

 
1 Comment

Posted by on December 22, 2014 in Java, Maven, OpenNTF, XPages


Tags: , ,

Maven and XPages Plugin – From Scratch / Part I – The Parent

Is it a good Idea to start writing a blog series about Maven, XPages Plugin with the topic “The Parent” on your birthday? I don’t know but the birthday reminds me a lot about my parents. About my father and mother who gave me the base structure of my life and lot of my being. But also my heavenly father, the creator of heaven and earth. The same it is with “The parent” in a Maven based project.

But let me first explain something about Maven. Maven is an absolute brilliant idea. Maven is a bit like God. Maven is an Open Build Tool. Maven can create everything you can imagine…. or Maven ban build nothing. The architecture of Maven is plugin (not to be confused with OSGI plugin or FireFox plugins) based. This means that Maven needs a Plugin for each type of code or project Maven can build. But at this point there are no boundaries.

The POM.xml contains the magic….. or it’s simply the build plan

Like with Lego, it is good to have a build plan. Software is become so complex that it needs build instructions. The main File for this build instructions is the pom.xm. One of the strength of Maven is, that it can build different modules in the right order and combine it to a ship able package. Because of that, there is a Parent file needed. This parent file is normally in the root folder of the Maven project structure. To illustrate this process, I’ve built a folder called D:\EGit\org.openntf.base. I’ve also setup Eclipse Kepler, which contains the m2eclipse Plugin (the Maven integration 4 Eclipse). Unlike to other tutorial, I try to explain all steps directly from Eclipse, without any command line magic 😉

1. Create a new Maven Project

Create Maven Project

Select “Create a simple project” and select the project location002

Give a group ID like you know it from the OSGI Plugin development and also an artifact ID (The artifact ID will be the project name)

Please select “POM” as Packaging Type. This type is used for parent POM files or for pom files that contains instructions for a group of other modules

003

2. Setup the POM.xml File for our modules

Please open the pom.xml file and add some properties:

For all text sample that you now use, please refer to this file -> https://github.com/OpenNTF/BuildAndTestPattern4Xpages/blob/develop/testpatterns/org.openntf.junit.xsp.parent/pom.xml and copy / paste the fragments.

The properties contain values, which are used in this pom or the child poms.

  • tycho-version is the version of the Tycho Framework
  • compiler is the version of the java compiler
  • project.build.sourceEncoding and project.reporting.outputEncoding controls the charset of the build / reporting process

004The repositories

Maven is an Open Build platform and we are using the Tycho Framework to build the Eclipse Plugins and Features. For this reason it is important to have a repository defined, where all the plugins for the compilation and test cycle are. We define 2 repository. The first repository called “notes” points to the local location of the IBM Domino UpdateSite for BuildManagement. This local location can be different on each developer machine. For this reason I use a ${notes-platform} variable, which can be defined outside. I will show later, how I do this. It is definitely needed to do so, if your plugin should be build via Jenkins or Bamboo.

005

The build section

As you have already recognized, the pom.xml has several section, which represents parts of the build/life-cycle. We start now to pre fill the build section. The first plugin, is the java compiler. As you see in the definition, the section starts with …. each plugin has its own section. The compiler has also ${compiler} variables, which points back to the properties. This means that all compilations based on the version 1.6 and we can at one point change this to a more accurate Java version, as soon, as Domino supports JDK 1.7 or 1.8

006The Tycho Plugins!

The next plugins, that we add are the Tycho plugins. This plugins, developed by SAP helps us to build eclipse-plugins, eclipse-features and eclipse-updatesites.

007

One of the important parts of the Tycho plugins is the target-plattform-configuration. I wanna point specially to the extra-requirements because this section contains the magic to include the notes.jar! It points back to a part of the notes repository.008
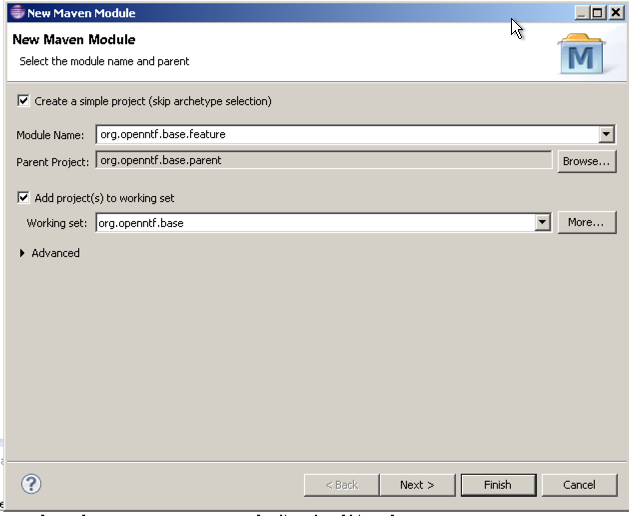
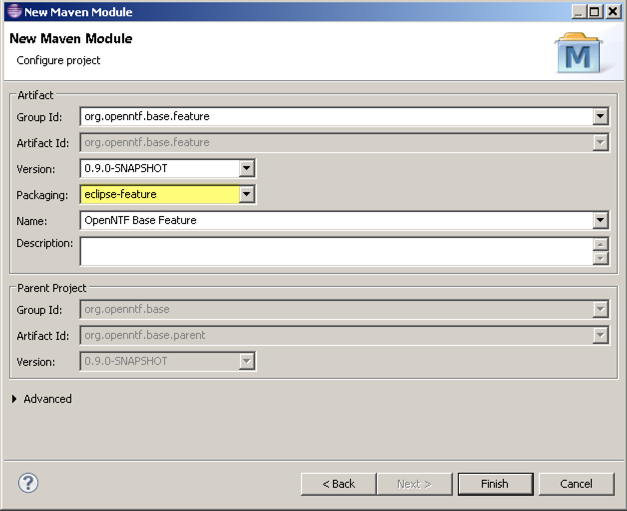
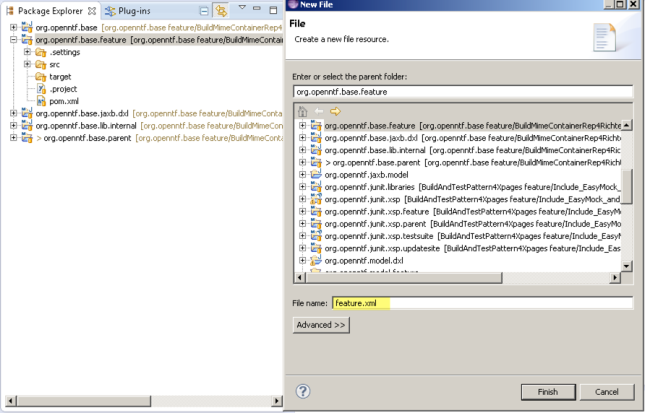
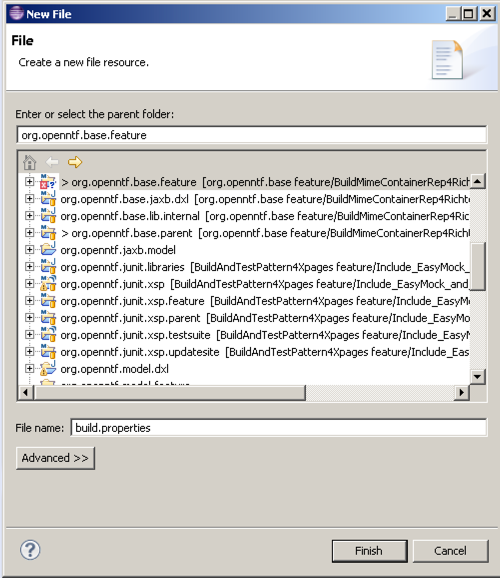
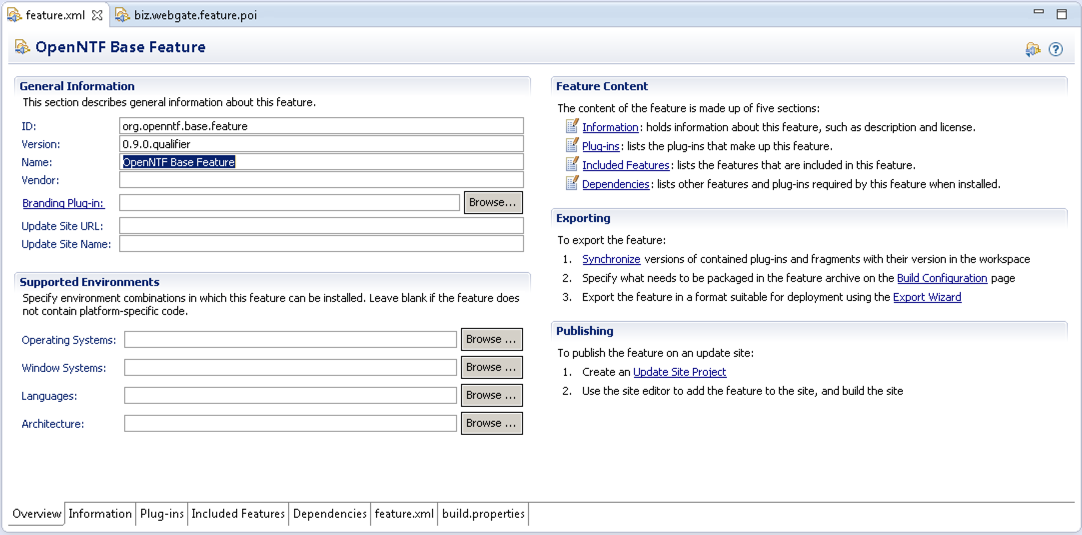
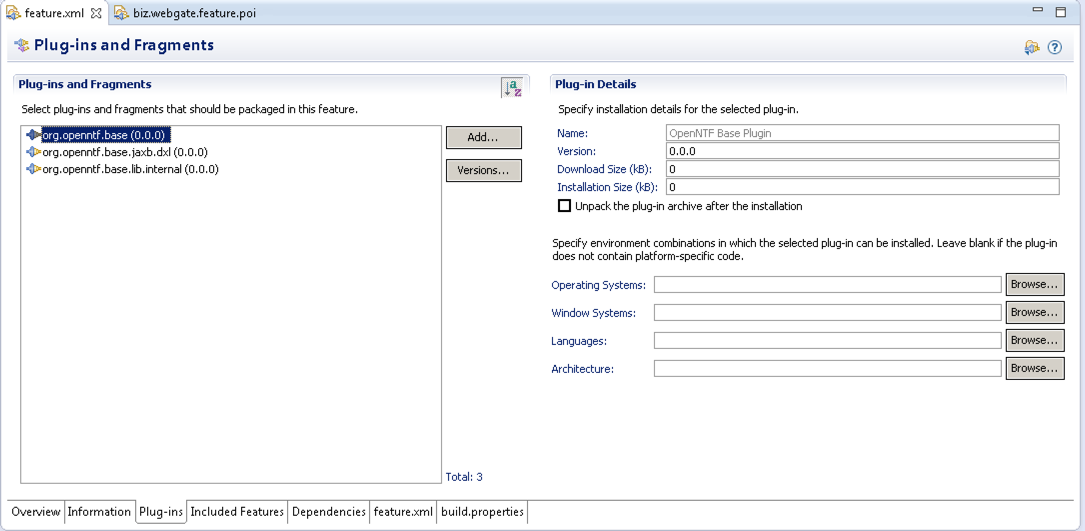
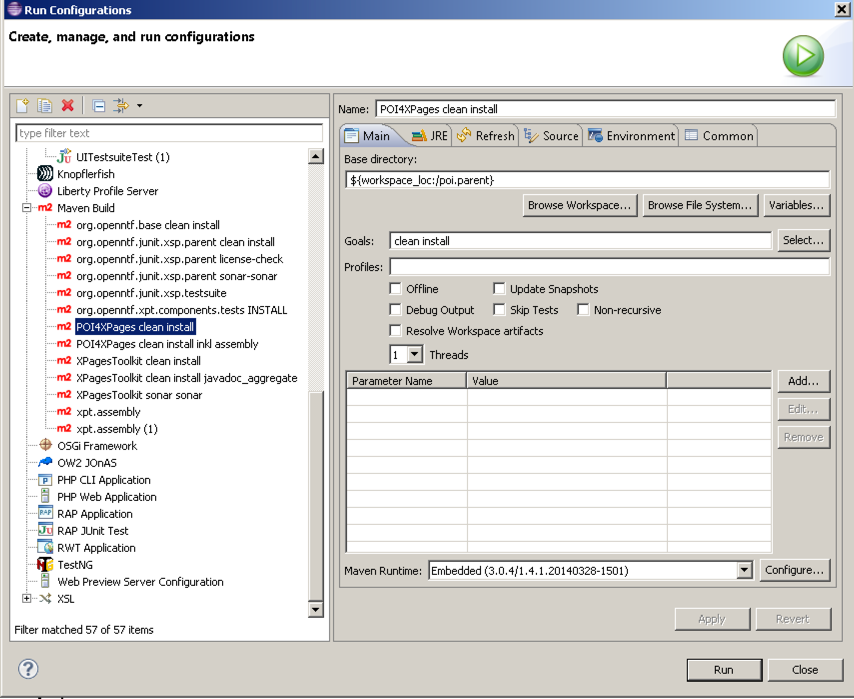
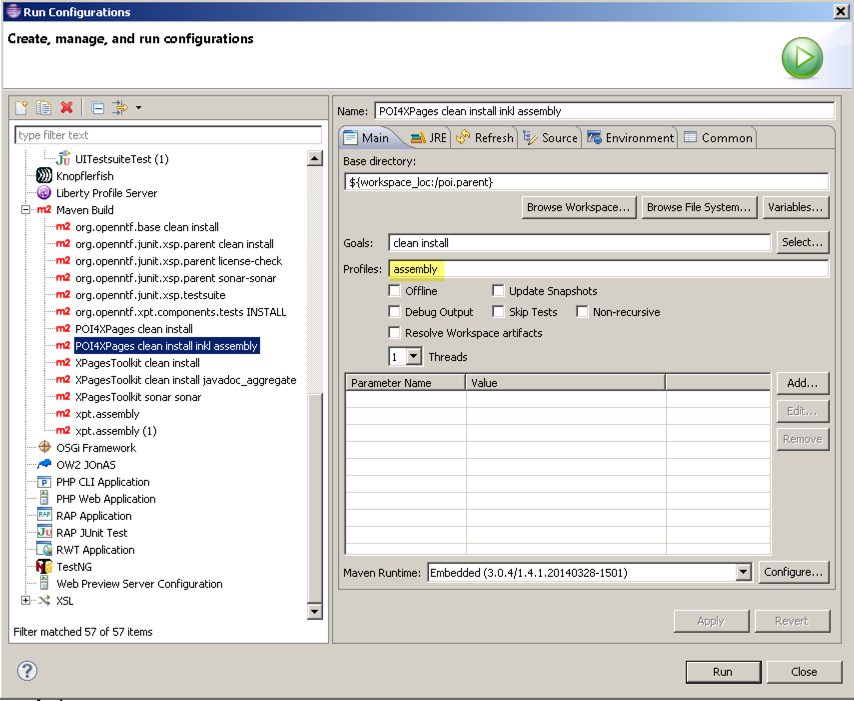
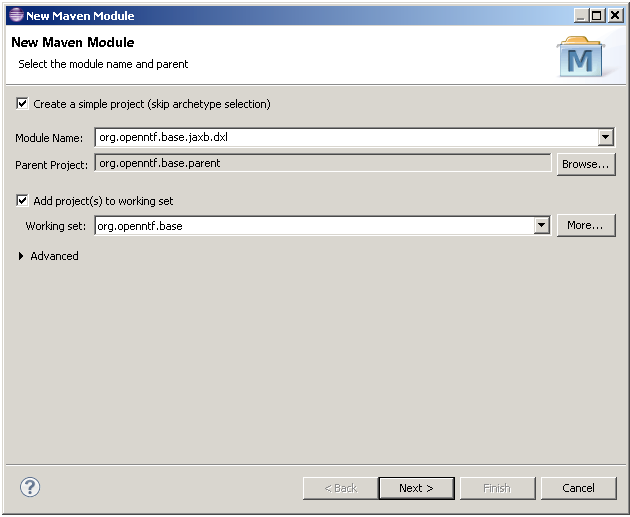
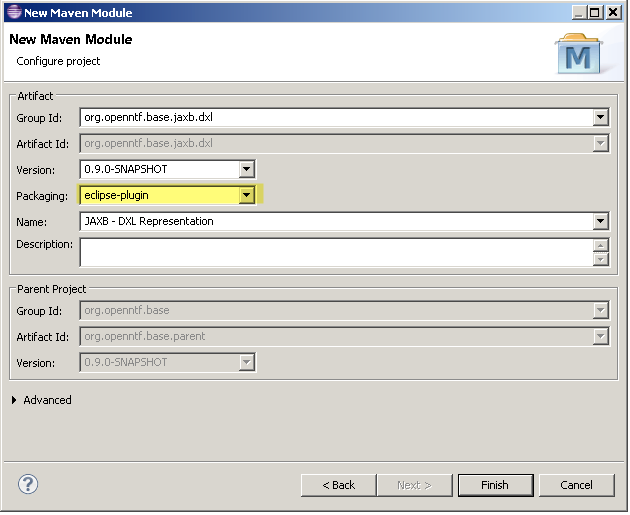
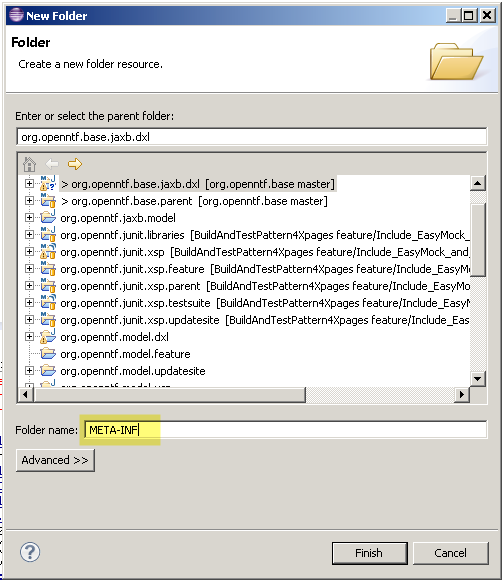
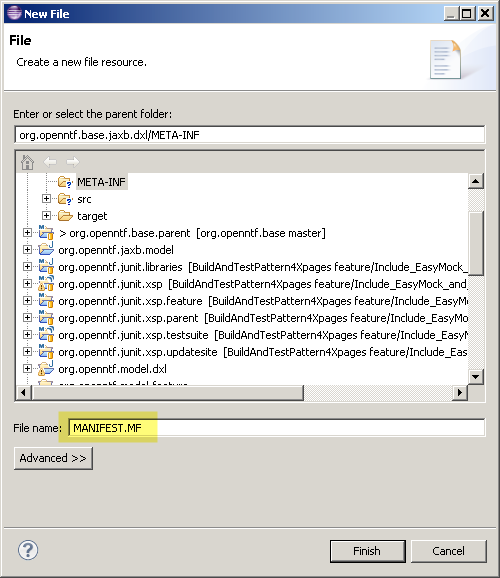
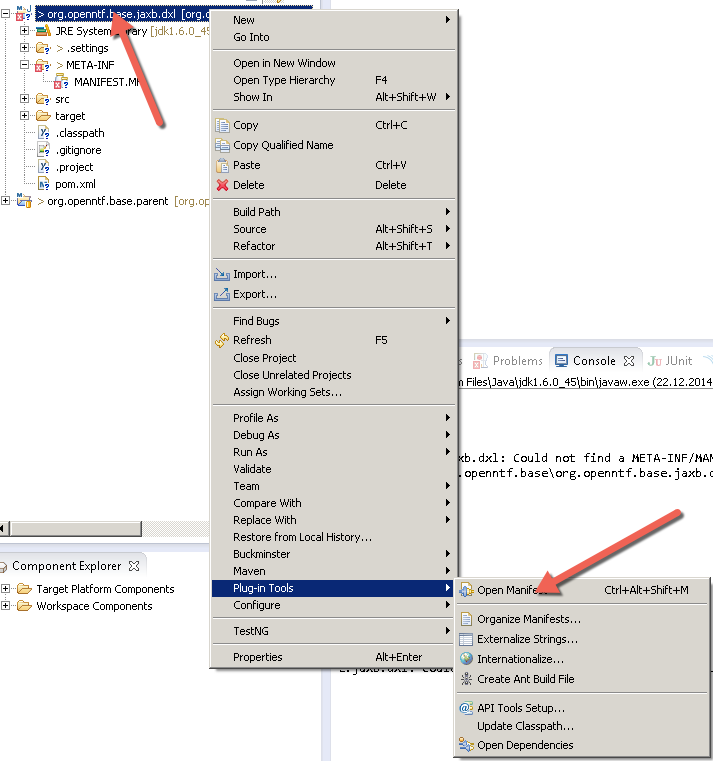
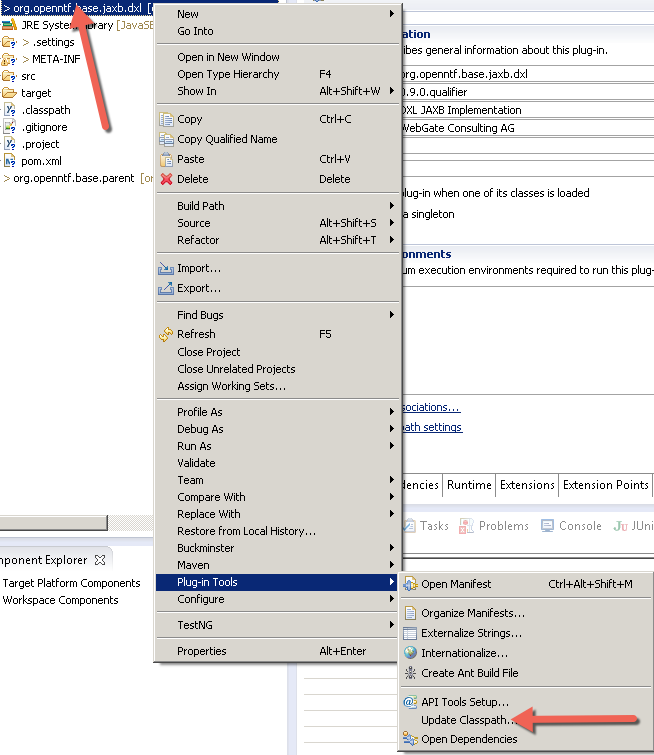
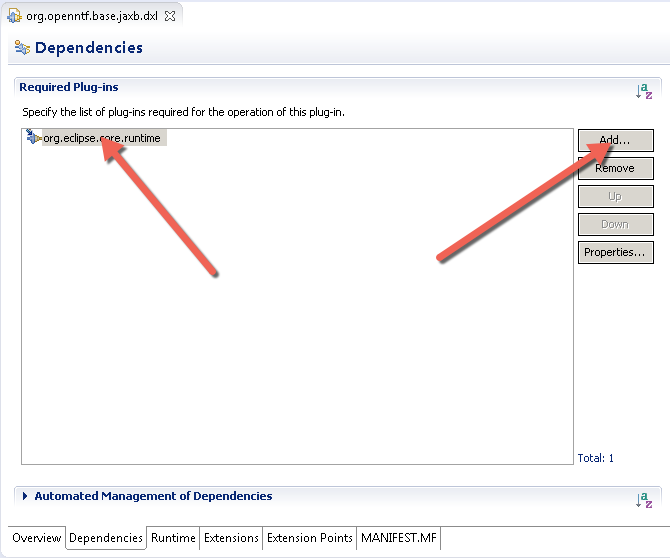
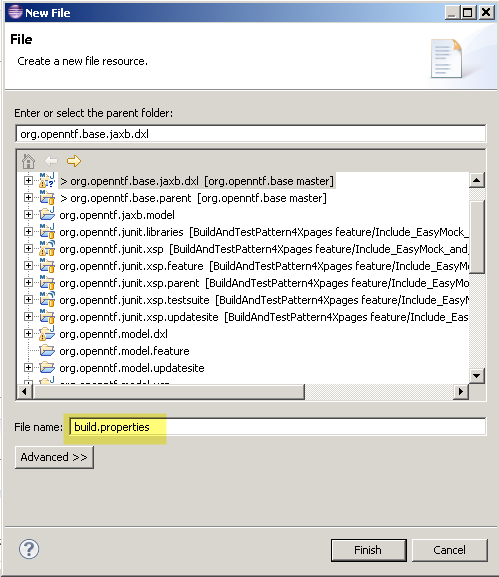
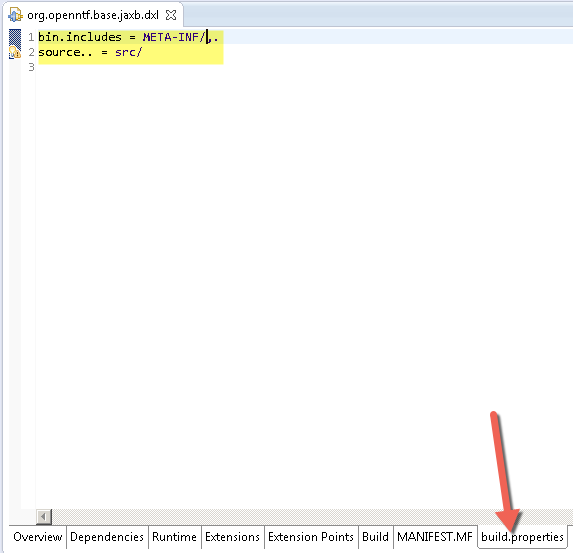
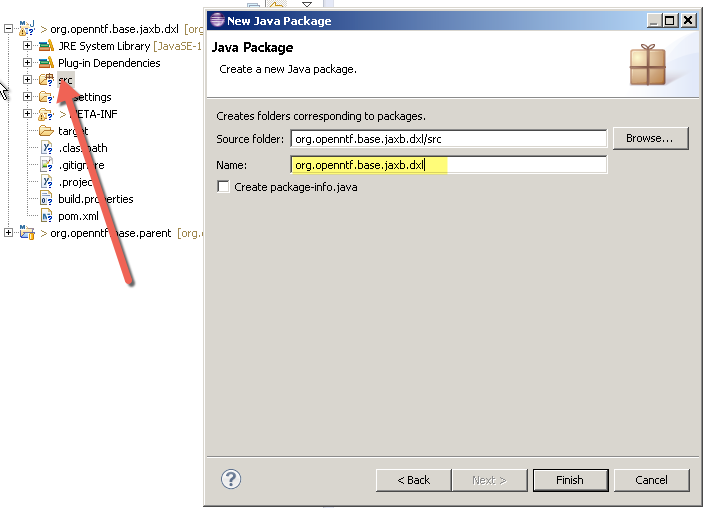
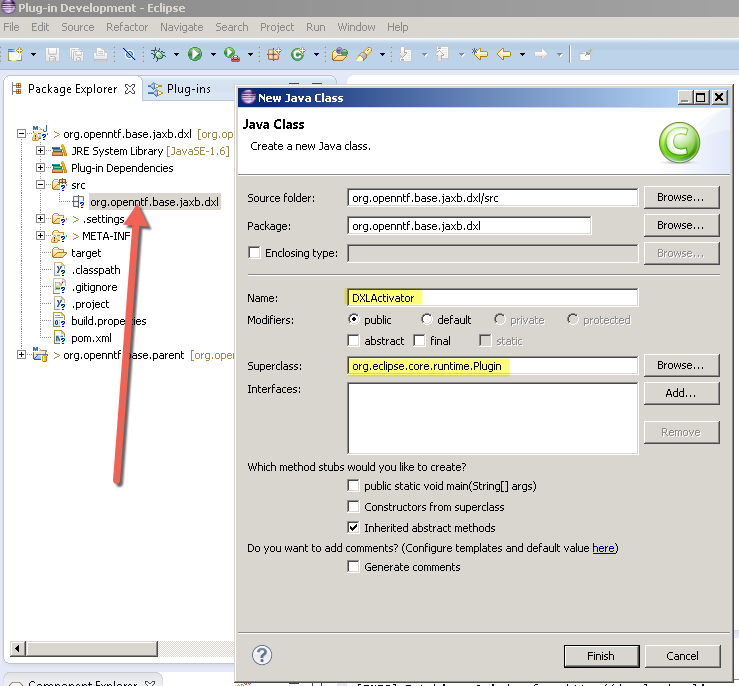
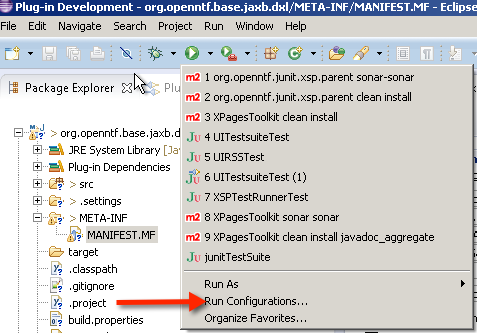
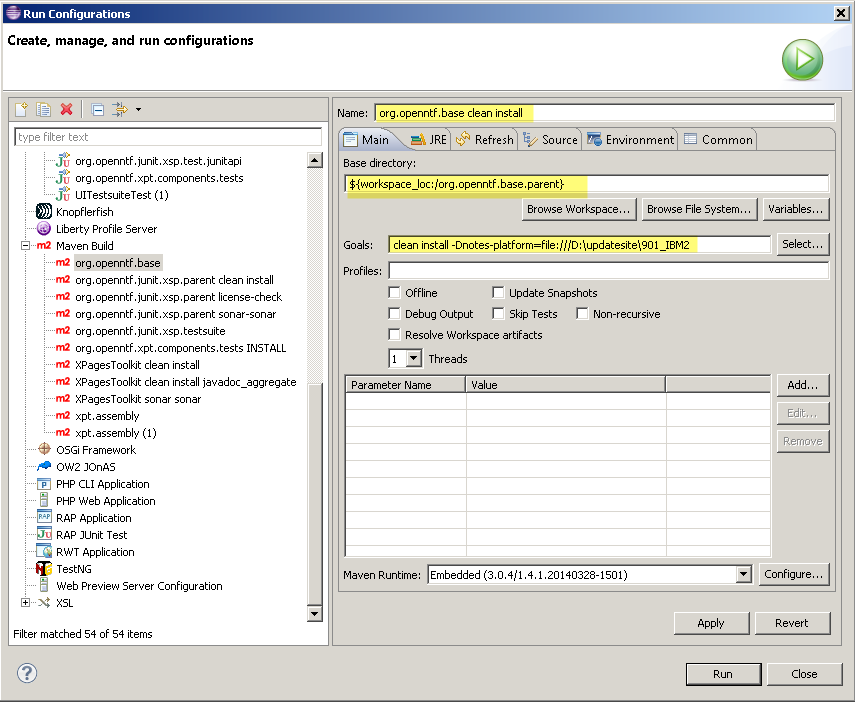
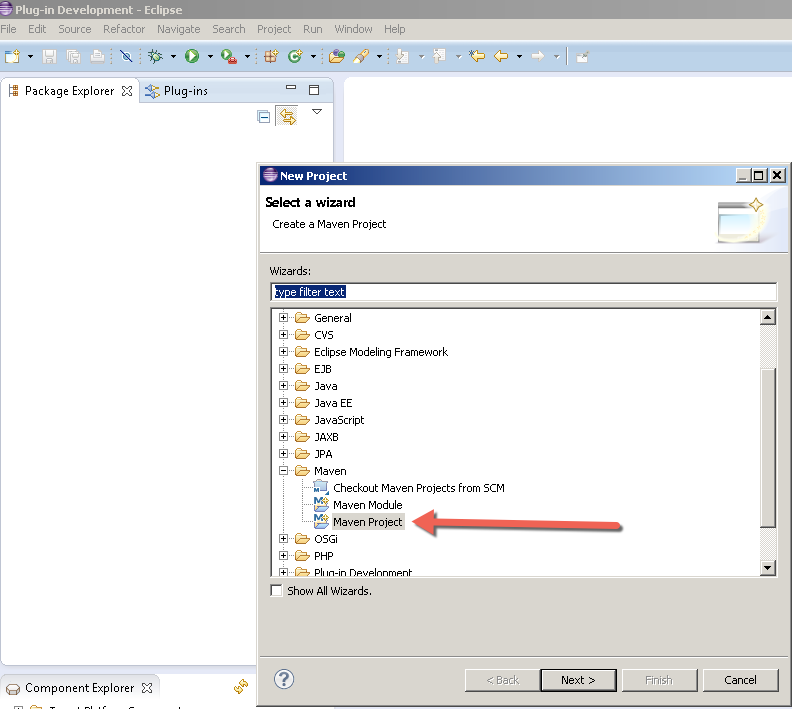
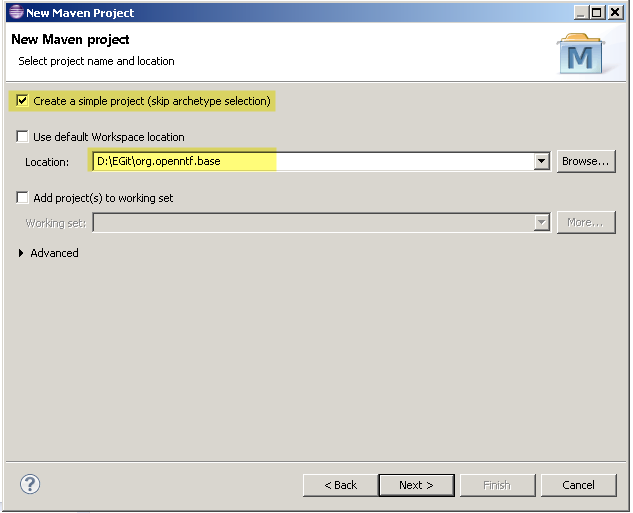
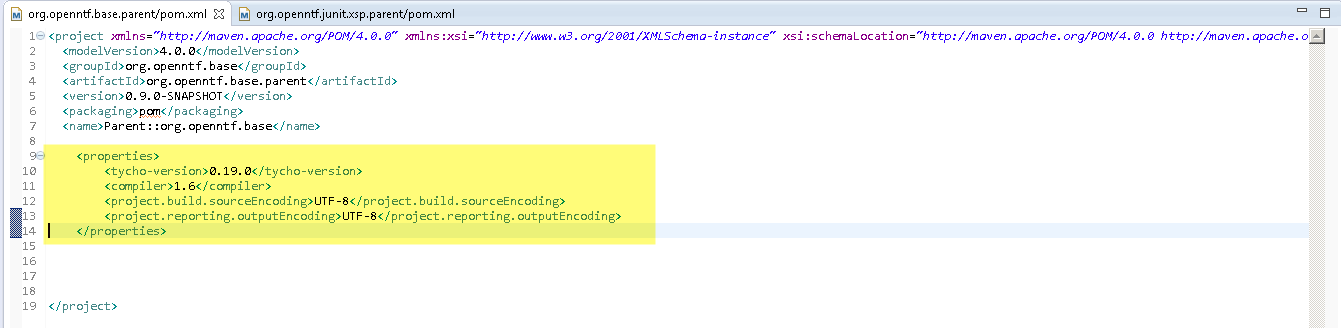
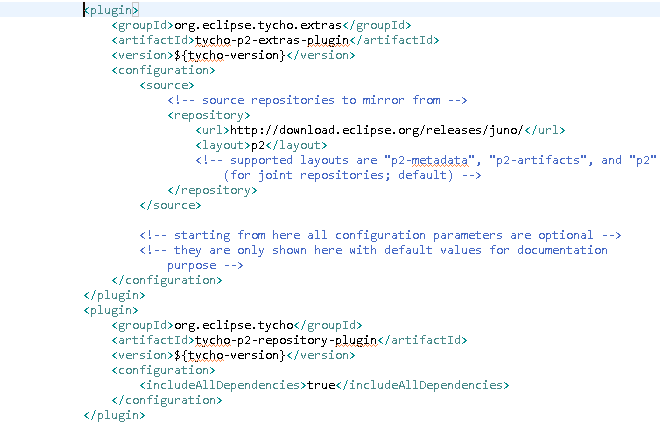
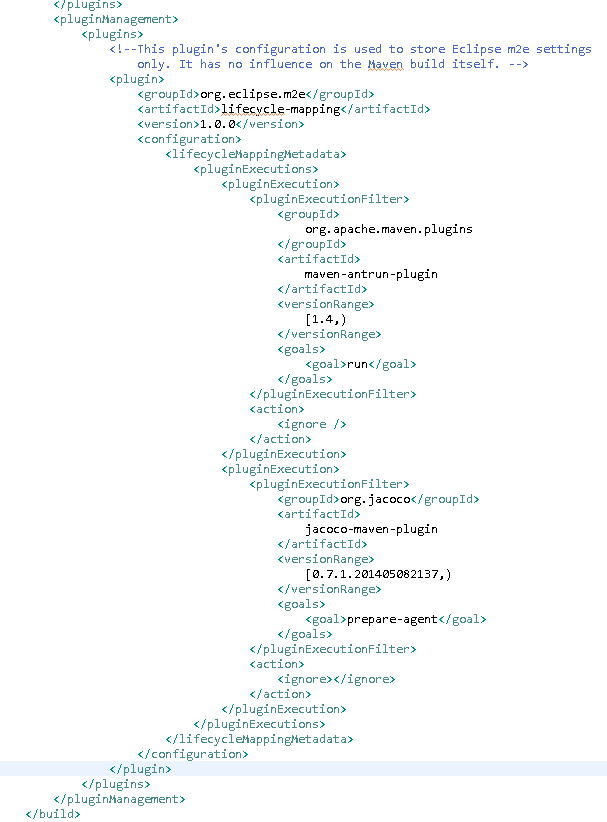
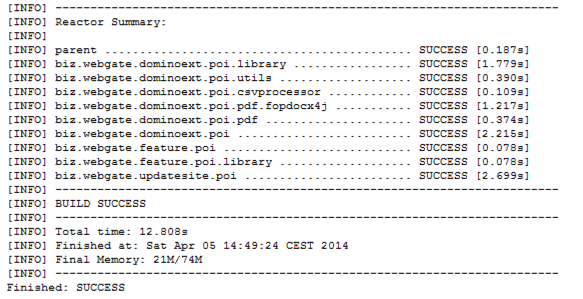
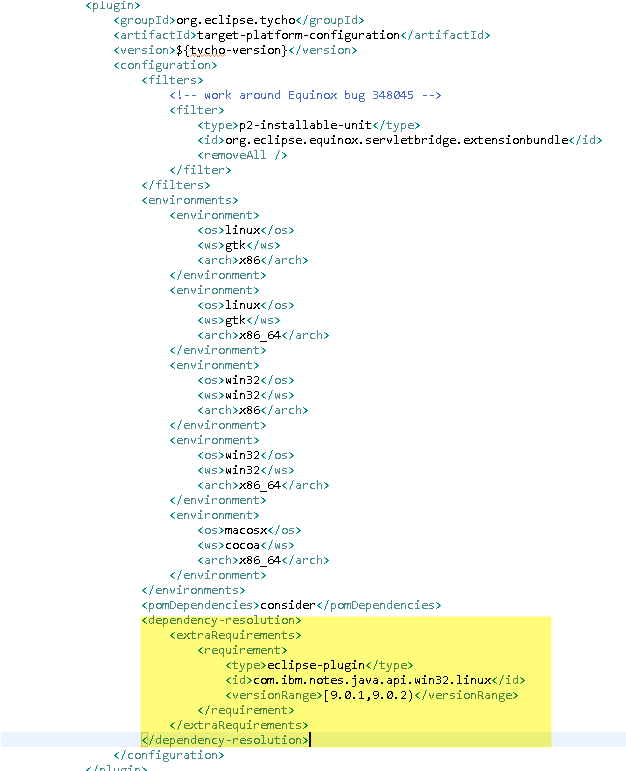
And last, but not least some stuff to complete the build configuration

009

All done for the <plugins> section….

… BUT we are working with eclipse

And I hope that I’ve understood this part right, but Eclipse needs some instructions how to manage all the plugins, for this we have the following definition, which gives clear instructions to org.eclipse.m2e how to handle maven and some build jobs.

010

Yes and now we are ready to build our first plugin in this project…..

 
2 Comments

Posted by on December 22, 2014 in Java, Maven, OpenNTF, XPages


Reading and writing Resource Bundles – an alternative approach

Dan Soares explains at NotesIn9 a nice way to read and write resource bundles. It’s a good read so enjoy his work. I was also faced with the problem of reading and a specially writing properties files, because Switzerland is multilingual and my idea was to give the power of translation to the hands of the business project leaders. But how to write properties files, and how to do it in am more productive way? I did go the same way as Dan, I did also find some sample from Sven Hasselbach, but the I asked my self, how can I provide this in an easy to consume way to my developers and to the community. This was the birth of a new part in the XPages Toolkit.

Btw. we started with the development of the XPages Tookit one year before we mad it public available on OpenNTF. And we want to be shure that we provide something useful and approved by our own developer team.

The result is a very easy to use API (requirement: Install the XPages Toolkit):

SSJS:
to get the properties as java.util.Properties object:
var properties = xptPropertiesBean.getProperties( databaseFilePath,
                               fileNameOfyourProperties );
to save the properties:
var success = xptPropertiesBean.saveProperties( databaseFilePath, 
                               fileNameOfYourProperties, properties);
Or to use in Java:
XPTPropertiesBean bean = org.openntf.xpt.properties.beans.XPTPropertiesBean.get();
Properties props = bean.getProperties( databaseFilePath, 
                                fileNameOfyourProperties ); 
int success = bean.saveProperties( databaseFilePath, 
                                fileNameOfYourProperties, properties);

But be aware of the following. Each change to properties seems to reload your application on the server.


To stay informed about the recent development on the XPages Toolkit, please register here and discuss ideas and give feedback.

 
Leave a comment

Posted by on September 6, 2014 in Domino, Java, OpenNTF, XPages


org.openntf.junit.xsp – now with EasyMock support

Frank van der Linden asked in his blog post (http://elstarit.nl/?p=157) if EasyMock or PowerMock can be integrated into the org.openntf.junit.xsp and Ryan J. Baxter mentioned also that a testing framework without a good mocking solution is only the half worth.

Only the half worth is a good reason to complete the effort. So I implemented also EasyMock and PowerMock to the org.openntf.junit.xsp. With version 1.1.0 you get the capabilty to mock objects. You may ask how does EasyMock work. Her a small example:

Imagine this. You have this class called Share. The class can be initialized with a builder method called initFromDocument( Document doc) and you want to test this method.

package org.openntf.junit.example.bo;

import lotus.domino.Document;

public class Share {

    private String m_ShareName;
    private int m_Count;
    private int m_PricePerShare;
    
    public static Share initFromDocument( Document doc) {
        Share share = new Share();
        try {
            share.m_ShareName = doc.getItemValueString("ShareName");
            share.m_Count = doc.getItemValueInteger("Count");
            share.m_PricePerShare = doc.getItemValueInteger("PricePerShare");
        } catch (Exception ex) {
            ex.printStackTrace();
            return null;
        }
        return share;
    }
    
    public String getShareName() {
        return m_ShareName;
    }
    public int getCount() {
        return m_Count;
    }
    public int getPricePerShare() {
        return m_PricePerShare;
    }

    public Object getValue() {
        return m_Count * m_PricePerShare;
    }
    
    
}

Your intention is now to write a test for that (or better you write first the test). But you wont initialize a Notes Document, because one thing that unit testing is about has to do with isolation. At this point comes EasyMock to the game:

package org.openntf.junit.example;

import lotus.domino.Document;

import org.junit.Test;
import org.openntf.junit.example.bo.Share;
import org.openntf.junit.xsp.easymock.EasyMockWrapper;

import static org.easymock.EasyMock.*;
import static org.junit.Assert.*;

public class ShareTest {

	@Test
	public void testShareWithDocumentMock() {
		Document docMock = EasyMockWrapper.createNiceMock(Document.class);
		try {
			expect(docMock.getItemValueString("ShareName")).andReturn("WebGate");
			expect(docMock.getItemValueInteger("Count")).andReturn(5);
			expect(docMock.getItemValueInteger("PricePerShare")).andReturn(2870);
			replay(docMock);
			Share shareWebGate = Share.initFromDocument(docMock);
			assertEquals("WebGate", shareWebGate.getShareName());
			assertEquals(5 * 2870, shareWebGate.getValue());
		} catch (Exception e) {
			e.printStackTrace();
			assertFalse(true);
		}
	}
}

With

Document docMock = EasyMockWrapper.createNiceMock(Document.class);

initialize EasyMock a new document object. You may recognize that instead of calling EasyMock.createNiceMock(), I’m calling EasyMockWrapper.createNiceMock(). This is needed because of security issues.

Now we can “record” what will happen to the docMock object. We have 1 call of getItemValueString(“ShareName”) and 2 calls to getItemValueInteger(). For each call can we define what value should be returned.

expect(docMock.getItemValueString("ShareName")).andReturn("WebGate");
expect(docMock.getItemValueInteger("Count")).andReturn(5);
expect(docMock.getItemValueInteger("PricePerShare")).andReturn(2870);

Like on the tape recorder. It’s time to go back to start. You do this with

 
 replay(docMock);

Now our mocked document object is ready and you can test the initFromDocument method.

There is a lot more to cove about mocking and this only the start.


Have fun (and don’t forget to use the EasyMockWrapper)

Christian


1 Comment

Posted by on September 2, 2014 in Domino, Java, OpenNTF, XPages


Using JUnit in XPages Projects

Yes! I’ve read some books during my holidays. Clean Code was one of them and also Test Driven Development. Both of them where very interesting and has closed some open questions. Back from holidays, I’ve started to research how I can implement JUnit testing to XPages Applications. The following StackOverflow question brings it to the reality: There is no easy way!

But wait, Jakob Majkilde had a good idea! Why not integrate the testing direct to the application and using the XPages rendering engine to present the result. This would not be the first time, that testing was done direct in the project. Inspired by this idea, I began to research, how eclipse presents the results of JUnit tests and also how the maven-surfire-plugin generates its results. I learned a lot about JAXB and the junit-4.xsd to generate the xml. Some short test, figured out that I’ve to make another plugin. But this time somehow different. I decide to work aligned to the TDD principles. It was a very nice experience. And also a very fast approach (I was really surprised!).

And here it is the org.openntf.junit.xsp plugin. Install it like you do it with the ExtLib or the OpenNTF Essentials (maybe it will become a part of it). And yes, server and DDE. Now you can activate the library in the xsp.properties.

junit-xsppropsActivating the junit library gives you the capability to write tests and use the TestSuite control. But lets start with a simple test class. This class makes not a lot of sense, but shows a bit of the capabilities of JUnit.

package org.openntf.junit.example;

import static org.junit.Assert.*;

import org.junit.Test;

public class TestMock2 {

    @Test
    public void checkTrue() {
        assertTrue(true);
    }

    @Test
    public void checkFalse() {
        System.err.println("MOCK2SYSERR");
        System.out.println("MOCK2SYSOUT");
        assertFalse(true);
    }

    @Test
    public void checkEquals() throws InterruptedException {
        Thread.sleep(201);
        assertEquals(10, 10);
    }
}

The class contains 3 test. They are marked with the @Test annotation as a test. The most methods ends with some kind of a assertXXXXX. With the assertXXXX functionality is the result checked. Two of this tests will be successful, one will fail. To test the capacity of my JUnit runner implementation, I’ve made in checkEquals a Thread.sleep to see if my time measuring works. checkFalse() contains System.out and System.err to check, if I can capture the Output during the test. Fortunatly its possible 🙂

Next step -> new XPage called junit.xsp

I’ve then made a new XPages called junit.xsp (but call it the way you love). Include the TestSuite Control on this XPages and define the classes to test. The following code shows the result:junitxsp

When you load the page, you will get the following result rendered for the junit:testsuite control:

junit-resultAnd yes you are right! The red bar is not the thing you wanna see! Now you can go and fix the problems. After that a refresh on this page and you see, that all is green 🙂

Btw. the definition

downloadFile="TEST-Failures.xml"

gives you the capability to download the report with <pagename.xsp>/<downloadFile> e.g. junit.xsp/TEST-Failures.xml

Have fun!

Christian

 
3 Comments

Posted by on August 21, 2014 in OpenNTF


Tags:

Performance, some findings!

It’s a long time since my last post. But after my sons heart surgery, my time was consumed by one of the biggest challenge that we as WebGate ever has to face. I will definitely write about this, after the successful closing of the project.

But in the mean time, I have done some experiments with the XPagesToolkit and large datasets. The question that I’ve to answer is very easy. How to process a large dataset like 100’000 documents to a nice List of contact objects, or in java spoken: List contacts = ContactSorageServer.getInstance().getAll().

My first question was of course: Is it really mandatory to have 100’000 Contacts in one List? To be honest, it is mostly no mandatory. Having 100’000 Contacts in a List is a typical “Notes View” case. Most agile Application will not present you a tabular list with 100 results per page and a pager control to browse thru 1000 pages, that you can find the page with the correct dataset. But having such a large dataset helps to find the best solution to read a dataset.

So our test scenario is very easy:

  1. 100’000 Documents to transfer to Contact Object add to an ArrayList.
  2. The transfer from document to object is fix, no changes will make there, we try only to manipulate the way we get the 100’000 Documents and how we can add them to the ArrayList
  3. All tests are instrumented and measured with the XPages Toolbox (see Mastering XPages Second Edition, Chapter 20)

1. Using the current XPT Approach:

The XPagesToolkit uses currently a view and browse the document by getNextDocument(). Each object is added to the ArrayList(). This has the effect that the ArrayList has to extend and realign the internal array each time when we achieve the internal capacity. This is the base value.

2. Using LinkedList instead of ArrayList

The only change to the XPT Approach is, that we use a LinkedList instead of the ArrayList and copy the LinkedList as last opration to an ArrayList. We expect to see a significant speed boost, because the LinkedList can growth in a “one Operation” step and has no reassigning of an internal array.

3. Using a NoteCollection based on the view’s selection formula (suggested by Nathan T. Freeman)

Instead of looping thru a view, we use the views selection formula to build a NoteCollection and access the document directly by “getDocumentById()”. I was personally a bit sceptic about building a selection of NoteID ad hoc. Would this work in such a big dataset?

Each approach was tested 10 times (using the code at the end of the entry). Here the results:

XPT LinkedList NoteCollection
Averag Time (sec) 40.5 39.9 32.7
Min 39 39.2 31.7
Mas 43.8 40.8 33.8
Convesion doc to object (sec) 28.8 29 25.8
getNextDocument() (100’000 calls) (sec) 10.3 10.3
Copy LinkeList to ArrayList (ms) 54
Building NoteCollection (ms) 726
getDocumentByID (100’000 calls) (ms) 2294
getNextNotesID (100’000 calls) (ms) 580

My first finding was, that building a LinkedList and then converting to an ArrayList could be a bit faster than the permanent resizing of the ArrayList, but no so much as expected. That was also the reason to see what was happening in the backend. And as you see here, the time to loop thru the we is long, 10.3 sec, means 0.1ms per document.

But the big surprise was the result with the NoteCollection. It needs only 726ms to build the Collection and other 2.9 sec to browse thru the collection. That’s very fast. This means, even accessing the View to get the selection formula and then building the NoteCollection and browse thru this collection is much faster!

I think that will definitely go in to the XPagesToolkit. But this will also need testing. If you wanna be informed about new SNAPSHOT build of the XPagesTookit, please register here http://mm.wgcdev.ch/mailman/listinfo/xpagestoolkit!

And then, the child in me told me. How will this scale, if you set in the view selection formula a @Today function. We all know that such views has to be rebuilt permanently. And the child wants to play, so I did. Here the same stuff with a view with the following selection formula: SELECT ((Form = “Contact”)) & @Created > @Adjust(@Today;0;0;-10;0;0;0)

The XPT had an average time of 50 sec (that’s what I excepted to see), to get all the document (also 100’000). BUT……..

….. the NoteCollection approach has done this in 32.8 sec! Means near the same speed! The building of the NoteCollection has a time vor 844 ms. That’s definitely great!

Let see what this has for en impact for, small datasets. And a lot of stuff to discuss with the XPagesToolkit Team 🙂


Here my test code:

/*
 * © Copyright WebGate Consulting AG, 2014
 *
 * Licensed under the Apache License, Version 2.0 (the "License");
 * you may not use this file except in compliance with the License.
 * You may obtain a copy of the License at:
 *
 * http://www.apache.org/licenses/LICENSE-2.0
 *
 * Unless required by applicable law or agreed to in writing, software
 * distributed under the License is distributed on an "AS IS" BASIS,
 * WITHOUT WARRANTIES OR CONDITIONS OF ANY KIND, either express or
 * implied. See the License for the specific language governing
 * permissions and limitations under the License.
 */
 package org.openntf.xpt.demo.bo;
import java.util.ArrayList;
 import java.util.LinkedList;
 import java.util.List;
import lotus.domino.Document;
 import lotus.domino.NotesException;
 import lotus.domino.View;
 import lotus.domino.NoteCollection;
import org.openntf.xpt.core.dss.AbstractStorageService;
 import org.openntf.xpt.core.dss.DominoStorageService;
import com.ibm.commons.util.StringUtil;
 import com.ibm.commons.util.profiler.Profiler;
 import com.ibm.commons.util.profiler.ProfilerAggregator;
 import com.ibm.commons.util.profiler.ProfilerType;
 import com.ibm.xsp.extlib.util.ExtLibUtil;
public class ContactStorageService extends AbstractStorageService {
private static ContactStorageService m_Service;
private static final ProfilerType pt = new ProfilerType("ListPerformance");
private ContactStorageService() {
}
public static ContactStorageService getInstance() {
 if (m_Service == null) {
 m_Service = new ContactStorageService();
 }
 return m_Service;
 }
@Override
 protected Contact createObject() {
 return new Contact();
 }
// Performance TestCode
 public List getAllXPT(String viewName) {
 List lstRC;
 if (Profiler.isEnabled()) {
 ProfilerAggregator pa = Profiler.startProfileBlock(pt, "getAllXPT -> " + viewName);
 long startTime = Profiler.getCurrentTime();
 try {
 lstRC = getAll(viewName);
 } finally {
 Profiler.endProfileBlock(pa, startTime);
 }
 } else {
 lstRC = getAll(viewName);
 }
 return lstRC;
 }
public List getAllLinkedList() {
 if (Profiler.isEnabled()) {
 ProfilerAggregator pa = Profiler.startProfileBlock(pt, "getAllLinkedList");
 long startTime = Profiler.getCurrentTime();
 try {
 return _getAllLinkedList();
 } finally {
 Profiler.endProfileBlock(pa, startTime);
 }
 } else {
 return _getAllLinkedList();
 }
 }
public List<Contact> _getAllLinkedList() {
 List lstRC = new LinkedList();
 try {
 View viw = ExtLibUtil.getCurrentDatabase().getView("AllContacts");
 viw.setAutoUpdate(false);
 Document docNext = viw.getFirstDocument();
 while (docNext != null) {
 Document docProcess = docNext;
 docNext = viw.getNextDocument(docNext);
 Contact con = createObject();
 if (DominoStorageService.getInstance().getObjectWithDocument(con, docProcess)) {
 lstRC.add(con);
 }
 docProcess.recycle();
 }
 viw.recycle();
 } catch (Exception e) {
 e.printStackTrace();
 }
 if (Profiler.isEnabled()) {
 ProfilerAggregator pa = Profiler.startProfileBlock(pt, "copyLinkedList");
 long startTime = Profiler.getCurrentTime();
 try {
 return _copyList(lstRC);
 } finally {
 Profiler.endProfileBlock(pa, startTime);
 }
 } else {
 return _copyList(lstRC);
 }
 }
private List _copyList(List linkedList) {
 return new ArrayList(linkedList);
 }
public List getAllNC(String viewName) {
 if (Profiler.isEnabled()) {
 ProfilerAggregator pa = Profiler.startProfileBlock(pt, "getAllNC " + viewName);
 long startTime = Profiler.getCurrentTime();
 try {
 return _getAllNC(viewName);
 } finally {
 Profiler.endProfileBlock(pa, startTime);
 }
 } else {
 return _getAllNC(viewName);
 }
}
public List getAllNCLinkedList() {
 if (Profiler.isEnabled()) {
 ProfilerAggregator pa = Profiler.startProfileBlock(pt, "getAllNC-LinkedList");
 long startTime = Profiler.getCurrentTime();
 try {
 return _getAllNCLL();
 } finally {
 Profiler.endProfileBlock(pa, startTime);
 }
 } else {
 return _getAllNCLL();
 }
}
private List _getAllNC(String viewName) {
 List lstRC = new ArrayList();
 try {
 View viw = ExtLibUtil.getCurrentDatabase().getView(viewName);
 String formula = viw.getSelectionFormula();
 NoteCollection nc;
 if (Profiler.isEnabled()) {
 ProfilerAggregator pa = Profiler.startProfileBlock(pt, "buildNoteCollection " + viewName);
 long startTime = Profiler.getCurrentTime();
 try {
 nc = _buildNoteCollection(formula);
 } finally {
 Profiler.endProfileBlock(pa, startTime);
 }
 } else {
 nc = _buildNoteCollection(formula);
 }
lstRC = new ArrayList(nc.getCount());
 String notesIDNext = nc.getFirstNoteID();
 while (!StringUtil.isEmpty(notesIDNext)) {
 Document processDoc = ExtLibUtil.getCurrentDatabase().getDocumentByID(notesIDNext);
 notesIDNext = nc.getNextNoteID(notesIDNext);
 if (processDoc.isValid()) {
 Contact con = createObject();
 if (DominoStorageService.getInstance().getObjectWithDocument(con, processDoc)) {
 lstRC.add(con);
 }
 processDoc.recycle();
 }
 }
 nc.recycle();
 viw.recycle();
 } catch (Exception e) {
 e.printStackTrace();
 }
 return lstRC;
 }
private List<Contact> _getAllNCLL() {
 List lstRC = new LinkedList();
 try {
 View viw = ExtLibUtil.getCurrentDatabase().getView("AllContacts");
 String formula = viw.getSelectionFormula();
 NoteCollection nc;
 if (Profiler.isEnabled()) {
 ProfilerAggregator pa = Profiler.startProfileBlock(pt, "buildNoteCollection");
 long startTime = Profiler.getCurrentTime();
 try {
 nc = _buildNoteCollection(formula);
 } finally {
 Profiler.endProfileBlock(pa, startTime);
 }
 } else {
 nc = _buildNoteCollection(formula);
 }
 String notesIDNext = nc.getFirstNoteID();
 while (!StringUtil.isEmpty(notesIDNext)) {
 Document processDoc = ExtLibUtil.getCurrentDatabase().getDocumentByID(notesIDNext);
 notesIDNext = nc.getNextNoteID(notesIDNext);
 if (processDoc.isValid()) {
 Contact con = createObject();
 if (DominoStorageService.getInstance().getObjectWithDocument(con, processDoc)) {
 lstRC.add(con);
 }
 processDoc.recycle();
 }
 }
 nc.recycle();
 viw.recycle();
 } catch (Exception e) {
 e.printStackTrace();
 }
 if (Profiler.isEnabled()) {
 ProfilerAggregator pa = Profiler.startProfileBlock(pt, "copyLinkedList");
 long startTime = Profiler.getCurrentTime();
 try {
 return _copyList(lstRC);
 } finally {
 Profiler.endProfileBlock(pa, startTime);
 }
 } else {
 return _copyList(lstRC);
 }
 }
private NoteCollection _buildNoteCollection(String formula) throws NotesException {
 NoteCollection nc = ExtLibUtil.getCurrentDatabase().createNoteCollection(false);
 nc.setSelectDocuments(true);
 nc.setSelectionFormula(formula);
 nc.buildCollection();
 return nc;
 }
 }
 
4 Comments

Posted by on July 19, 2014 in Domino, Java, OpenNTF, XPages, XPT


Tags: ,

Automated building and testing of XPages Applications

You know that situation? You have done a roll out of a new version of an application and a short while after being in production, there is this call from an angry customer? A bug, fixed in a previous release did re appear in the new release!

How annoying is that. And you ask yourself DID THEY NOT TEST IT? So if you walk to the QA department and ask nicely about “Testing”, what answer would you get? I thinks that’s the moment when you start to think about “Automated Testing”. And automated testing, without an automated build of your application is nice, but only the half way!

To collect all the pieces to make this happen was a part of my mission to go to IBM Ireland and meet the XPages Team in Dublin. And a day after 3 days of hard work with them, it’s time to talk about automated build and testing of XPages application. First the story line and pre requirement:

  • You are working on a XPages Application.
  • The Application is available as on disk project in a SCM (Source Control Managementsysten)
  • You have build some selenium UI Tests

Each night or on every change to your application that is commited to the SCM, you want to have a automated build of the application and the selenium tests should run.

Thanks to the Headless Designer (see this Wiki about), you can create with a command line directly a new NSF. But there is more to do then only executing a command line. You want to be sure that the designer has all required plugins (like OpenNTF Essentials) during the build process. And all of this plugins should also be removed after a build. After the build you want to have the application moved to a test server and the selenium tests should be executed against this application. The whole build process is now covered by a maven plugin. You can see the progress on that on this GitHub project.

The headlessdesigner-maven-plugin covers now the following steps:

  1. Installing defined features to the designer
  2. Enabling defined features in the designer
  3. Build the application from on disk project
  4. Disabling defined features in the designer
  5. Uninstalling of the features
  6. Copy the build NSF to the target directory of the maven project

The following steps are planed for the next 2-3 weeks:

  • Distributing the NSF to the DominoServer
  • Building a archetype plugin to build per command line a new maven project
  • Thinking about distribution of the plugins to a official maven repository


1 Comment

Posted by on May 1, 2014 in IBM, Java, OpenNTF, Uncategorized, XPages


Tags: , ,

Automated build with Jenkins / Some progress

This saturday was dedicated to do some tests with automated build and Jenkins / Maven. Jenkins is a brilliant tool to let a server do some automated tasks. Maven is the tool which delivers a configuration language to describe how to build something. The goal of maven is to do the same thing always in the same way. For me as a highly creative person is doing the same thing always in the same way, a creativity killer. So I think Maven will be my friend, because he is doing all the annoying jobs for me.

But Maven needs some clear instructions to do his stuff right. And like Eclipse needs Maven also a clear environment to work. Based on some research on the SBT Project and with the help of my friend Google, I figured out that I need eclipse.tycho to build plugins, features and update sites. I had prior to saturday already done the following steps:

  1. Setup of Jenkins
  2. Setup of Maven
  3. Setup of Git (for Grabbing the Project direct form the GitHub)

I started with the parent pom.xml file. This file contains all instructions and dependencies for all my plugin. The full file can be read here.

The important thing was to define the following repository:

<repositories>
<repository>
<id>notes</id>
<layout>p2</layout>
<url>${notes-platform}</url>
</repository>
</repositories>
 

As I sad. Maven needs a clear environment to build all the plugins and the eclipse.tycho needs a repository, where all the plugins of the domino runtime are located. Unfortunately such a repository is currently not available. So I had to create a p2 update site. This is in fact the same, as you define your eclipse development environment to use a specific target platform. See the following instruction, how I did that.

As you can see in the repository definition, I’ve nut used in the <url> tag a fix url. It’s a variable, which can be sent to Maven in the command line. This has the good impact that I can use my new update site also as a file resource. To build my POI4XPages Project, I had only to checkout all the code from git, switch to the feature/CIandMavenIntegration branch and go to the root directory of the project:

mvn clean install -Dnotes-platform=file:///D:/updatesite/site.p2/
did the job…. almost 🙂

The next problem was, that Maven uses the standard JDK as Java Environment to compile. So I toke the DominoProg/jvm folder and copied it to my build server. Then I changed the Java Home to my new jvm location. In the mean time, I had also done all the pom.xml files for the plugins. And then, the great moment happens:

buildDoneWhats next….

  • I will now make some documentation, how I’ve setup this also on my Jenkins Server
  • I’ve to think, what should I do with the result of the build (assembly)
  • Test the same with Notes Application (Martin Pradny has made some good progress)
  • And learn how to test after the build 🙂 (The next annoying thing….)


1 Comment

Posted by on April 7, 2014 in IBM, OpenNTF, Software Entwicklung


Tags: , ,